Google One Tap è uno strumento di accesso semplice e intuitivo che consente ai visitatori su Chrome di accedere al tuo sito utilizzando il loro account Google con un solo clic.
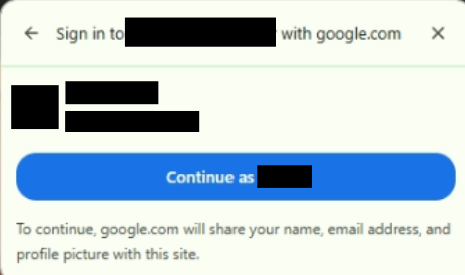
Questa esperienza senza interruzioni riduce l'attrito ed è il modo più semplice per raccogliere dati di prima mano di alta qualità.
Quando utilizzato con Ezoic Identity, il nostro sistema codificherà l'email del visitatore per proteggere la sua identità e passerà questa codifica (tipicamente lettere e numeri casuali) nell'asta in tempo reale per ottenere CPM molto più alti.
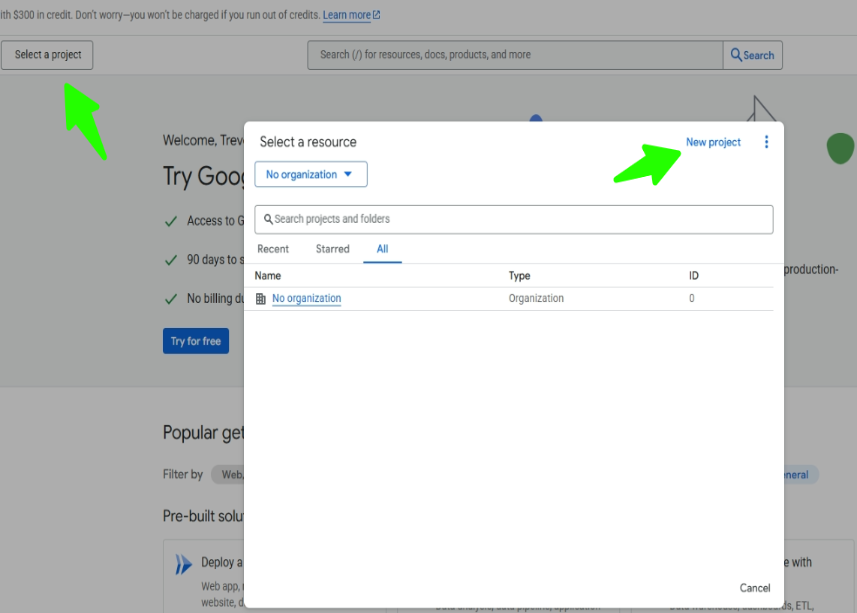
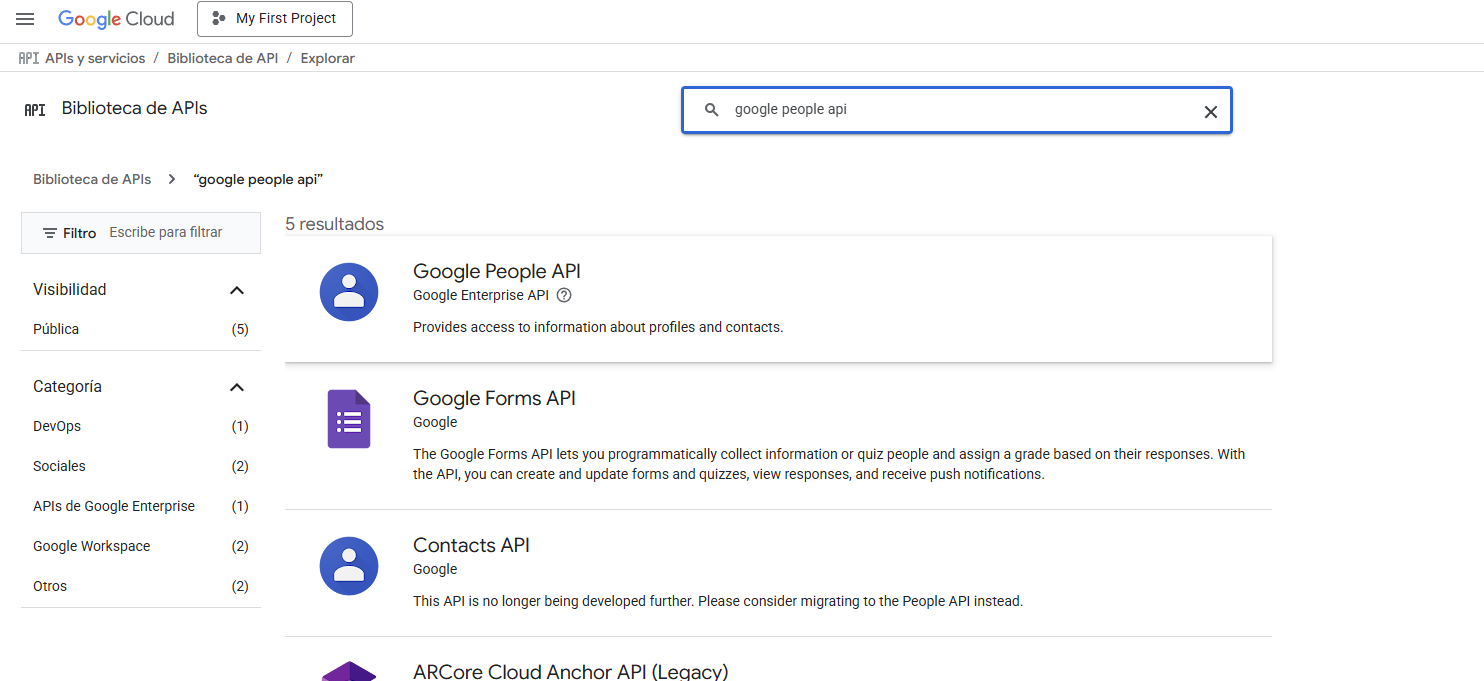
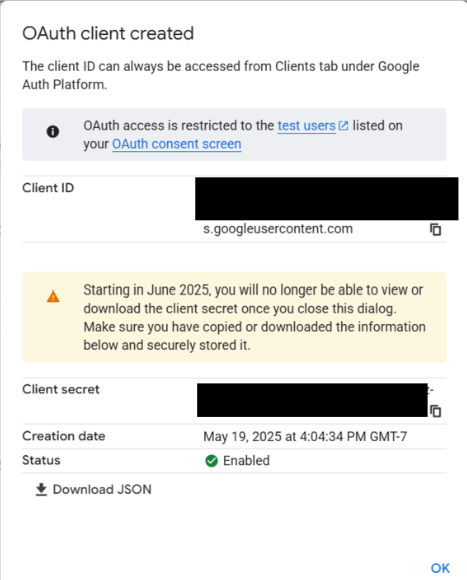
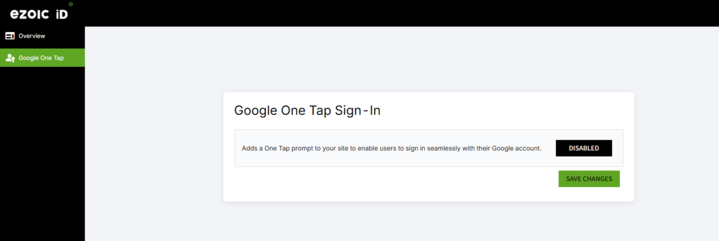
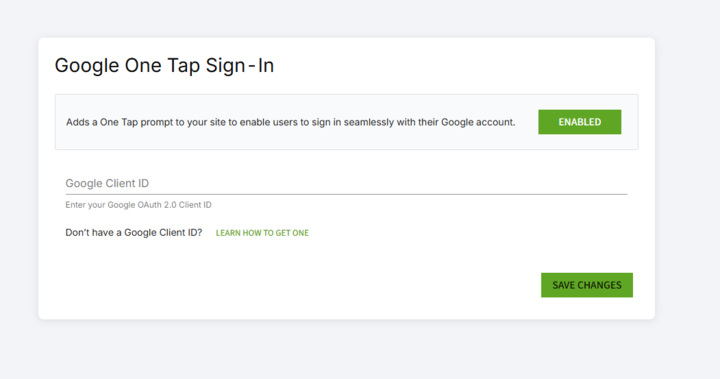
Questa guida spiegherà come configurare Google One Tap per il tuo sito, in modo da iniziare a beneficiare di un miglior targeting degli annunci che aumenta il potenziale di guadagno rimanendo conforme alla privacy per i tuoi utenti.